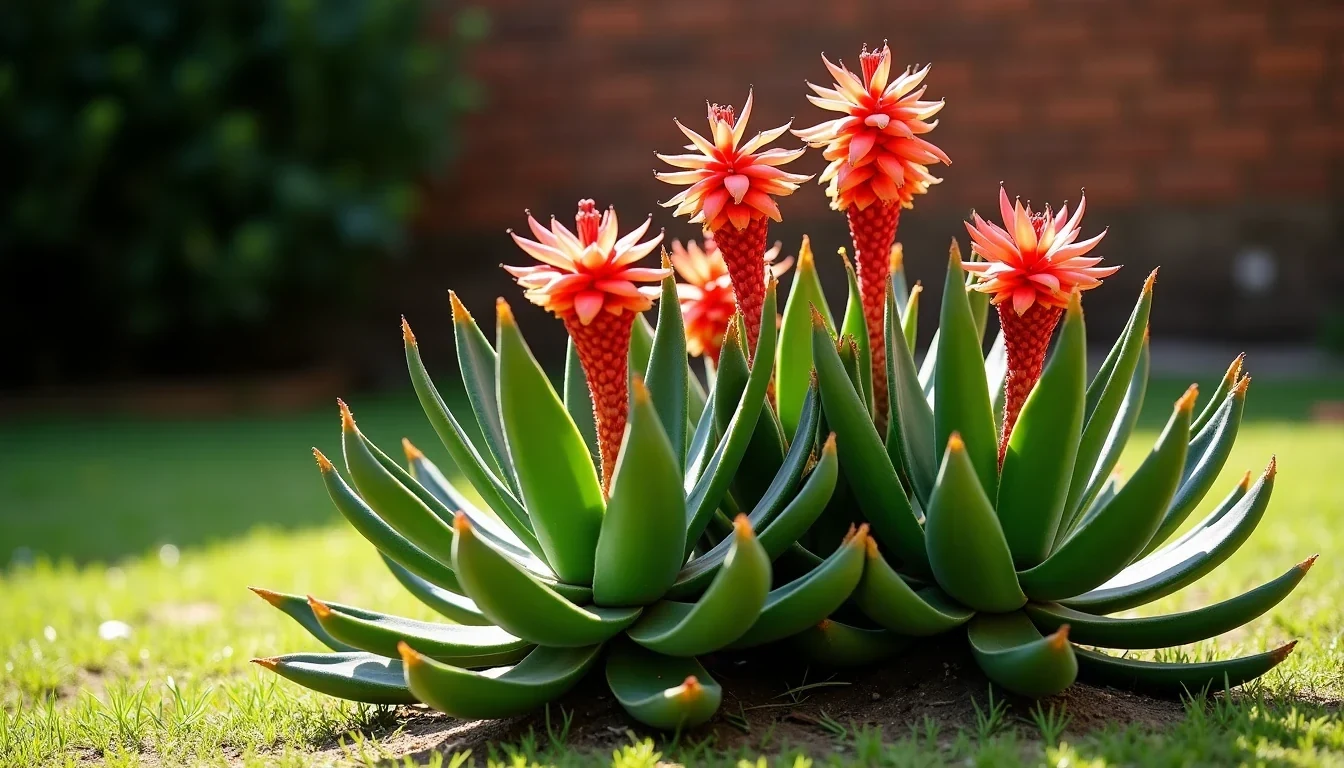

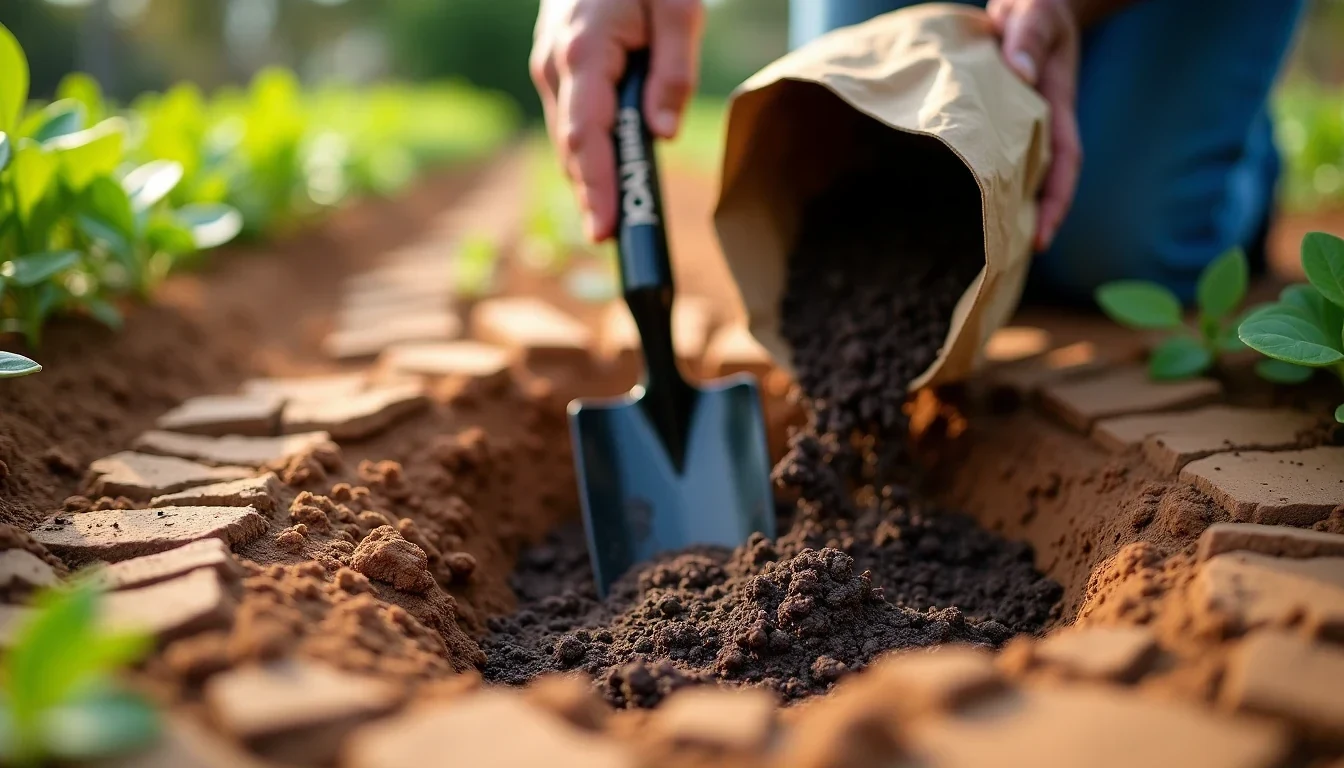
Highveld clay punishes kindness. Give a shrub a pocket of soft compost in hard ground, and water sits in the easiest place. This creates a soggy grave for roots, despite appearing to be good planting.
Nursery crews see this mistake repeatedly after new construction. A plant arrives, a hole is dug, a bag or two of compost goes in, and everyone admires the effort. A few months later, the shrub yellows, sulks, or dies. Compost is not inherently bad; the problem is that a pampered hole inside tight clay acts like a flowerpot buried underground.
Where it works
A 20-litre shrub planted into decent, open soil can develop a broad, living root zone. In Highveld clay, this only happens when the surrounding ground has been worked as a whole, not treated like a cracked egg with a filling. Break up compaction across a wide patch, then blend organic matter through the upper layer. The soil from edge to edge should behave similarly.
This matters after building work, when the site has been walked, driven, and compacted into something closer to subfloor than garden. A shrub dropped into a properly prepared bed can send new roots outward. A shrub dropped into a tiny compost pocket often just spins in circles inside the hole; the loosened patch is easier to colonize than the bricklike clay around it.
The local logic is plain. Highveld clay is dense, slow to drain, and unforgiving once squeezed by machinery or stripped of structure. When summer rain arrives, water moves into the soft patch first, then stalls where the amended hole meets the heavier native soil. That boundary acts like a drain stopper.
Where it does not
The bathtub method is a nursery habit that should have been buried years ago. Dig a narrow hole, throw in rich potting mix, set the plant in the middle, and you have created a water trap with neat edges. The soft fill drinks up moisture, the surrounding clay resists it, and the planting hole stays wet long after the surface has dried out.
Roots hate that arrangement. They need air as much as water. In waterlogged soil, oxygen disappears, roots stop working properly, and rot moves in. Fungal trouble does the rest. The plant may look thirsty above ground even while its roots are drowning below.
The worst cases are those people think are a drainage fix. A builder’s rubble layer under the soil, a compacted subsoil pan, and an irrigation line laid too generously can all keep the root zone wet for days. Add a compost-filled planting hole on top, and the shrub never gets a fair start. It lives in a soggy cup perched on a sealed floor.
Planting depth
The root flare is not decoration. It is the point where stem meets root, and it wants to sit at, or slightly above, the finished soil line. Bury it under compost and mulch, and you invite stem rot, hidden girdling roots, and a plant that struggles from day one.
If the ground drains badly, planting a little proud on a low mound usually makes more sense than digging deeper. Deep holes in clay simply create larger tubs. A mound lifts the crown above the wettest zone and gives the roots a place to run sideways into better aerated soil.
For a shrub around 20 litres, the scale does not need to be dramatic. A mound with a gentle slope and a broad base is enough. Use native soil mixed with compost and a coarse drainage component where the site is truly sticky, then keep the crown visible. The point is elevation and breadth, not a fancy hillock that dries out by lunchtime.
Watering rhythm
People often drown new plants because they panic. They see clay, assume dry soil means safe soil, and then water every day into the same compacted pocket. This only keeps the bathtub full.
A better rhythm starts before planting. Water the prepared bed deeply, then let the soil settle. After planting, water to settle the roots, not to flood the hole. If the site is genuinely slow to drain, reduce how much you apply each time and stretch the intervals. The aim is for moisture to move through the broader bed, not to sit around the stem like a moat.
Mulch helps, but only when used like a cover and not a burial. A 5 to 10 cm layer of bark chips, leaf mould, or straw will steady the soil temperature and reduce evaporation. Keep it a few centimetres back from the stem. Mulch pressed against the trunk is just another way to rot the plant from the collar up.
The worked example
Consider a 20-litre shrub planted in red clay after a building project in the Highveld. Excavations have left rubble in patches, the subsoil is packed hard, and an irrigation line crosses the bed. On paper, it sounds like a straightforward planting job. In practice, it is a drainage mess.
If you dig only the size of the root ball and refill that hole with soft compost, the plant ends up in a wet pocket surrounded by stubborn clay and debris. When rain or irrigation arrives, water pours into the loose material, then sits because the compacted edges and rubble below slow its escape. The shrub can sit there for weeks with saturated roots. This is exactly how a promising planting turns into a dead stick.
The fix is boring, which means it works. Open the whole area, break the compaction, remove obvious rubble, and rebuild the bed level so the plant is not forced into a pit. If the drainage is still poor after that, plant on a low mound rather than deepening the hole. The shrub gets oxygen, the roots can spread, and the soil behaves like a planting bed instead of a trap.
What to do this weekend
Before buying anything new, dig a test hole where you want to plant. Fill it with water and watch what happens. If it disappears quickly, you have a fighting chance. If it sits there stubbornly, you have a drainage problem, not a planting problem.
Repeat the test in a few spots if the bed is large or the garden has been disturbed by construction. You are looking for the places where water hangs around, because those spots will punish a buried compost pocket most brutally.
If the test hole drains slowly, stop shopping for plants and start planning the soil work. Broaden the bed, break the compaction, keep the root flare visible, and use compost to improve the whole planting area rather than one neat little grave. Highveld clay rewards patience and punishes tricks.